Features
Part of 5 things about garden tour operators worth your time
Photographing a garden tour without holding up the group
A field guide to photographing public gardens on a garden tour: prepare a shot, travel light, follow the guide's pace, and check site photography rules.
Start with how to compare tours built around garden itinerary building. On a garden tour, once the itinerary is fixed, the guide sets the pace, and you cannot hold up the group. What you control is the small stuff in the field, so prepare differently rather than carrying more.
What to take away
- Decide your shot before arriving, because you will not have time to explore for it.
- Carry the smallest kit that will do the job; keeping up matters more than reach.
- [Garden trip mistakeslessons and fixes for beginners](/garden-trip-mistakes-lessons-and-fixes-for-beginners) covers photography ethics on public land; follow the guide's directions and do not touch plants or block paths.
- Ask the guide where the group will stand, then photograph from the edge without blocking the path or other visitors.
Prepare a shot list, not a kit list
Look at the itinerary and decide one picture per stop. A tour gives you perhaps forty minutes at each garden, of which ten will be a group briefing. Knowing what you are after turns that into enough time. Looking for something to photograph does not.
Set a familiar exposure mode before the group arrives. For a still bloom, use aperture priority and focus on the feature you want sharp; for movement, choose a shutter fast enough to freeze it. Check the background before pressing the shutter.
Shot list prep steps
- Read each garden's pages the night before
- Note two or three features you want
- Check if features are off the group route
- Drop them or ask guide about independent walking
The preparation is straightforward. What first-time visitors miss about garden tour companies is worth reading the night before, but the garden's own pages matter more: note two or three features you want and check whether any of them sit in a part of the site the group is unlikely to reach. If they do, either drop them or ask the guide whether the stop allows independent walking. A glasshouse stop needs a different plan from a walled garden or arboretum lawn: keep a cold camera in a closed bag while it adjusts to warmer, humid air, and settle on the frame before entering.
Learn the craft before the trip, not on it
The craft is worth learning before the trip, not on it. A nature photography workshop at Wolf Creek National Fish Hatchery, led by a professional wildlife photographer, started in class with the rule of thirds, light, focus, composition and background, then macro work, birds and moving subjects. Everything on that list is exactly what a rushed garden stop asks of you. Before the tour, practice framing a plant against a clear background and focusing on the feature you want sharp.
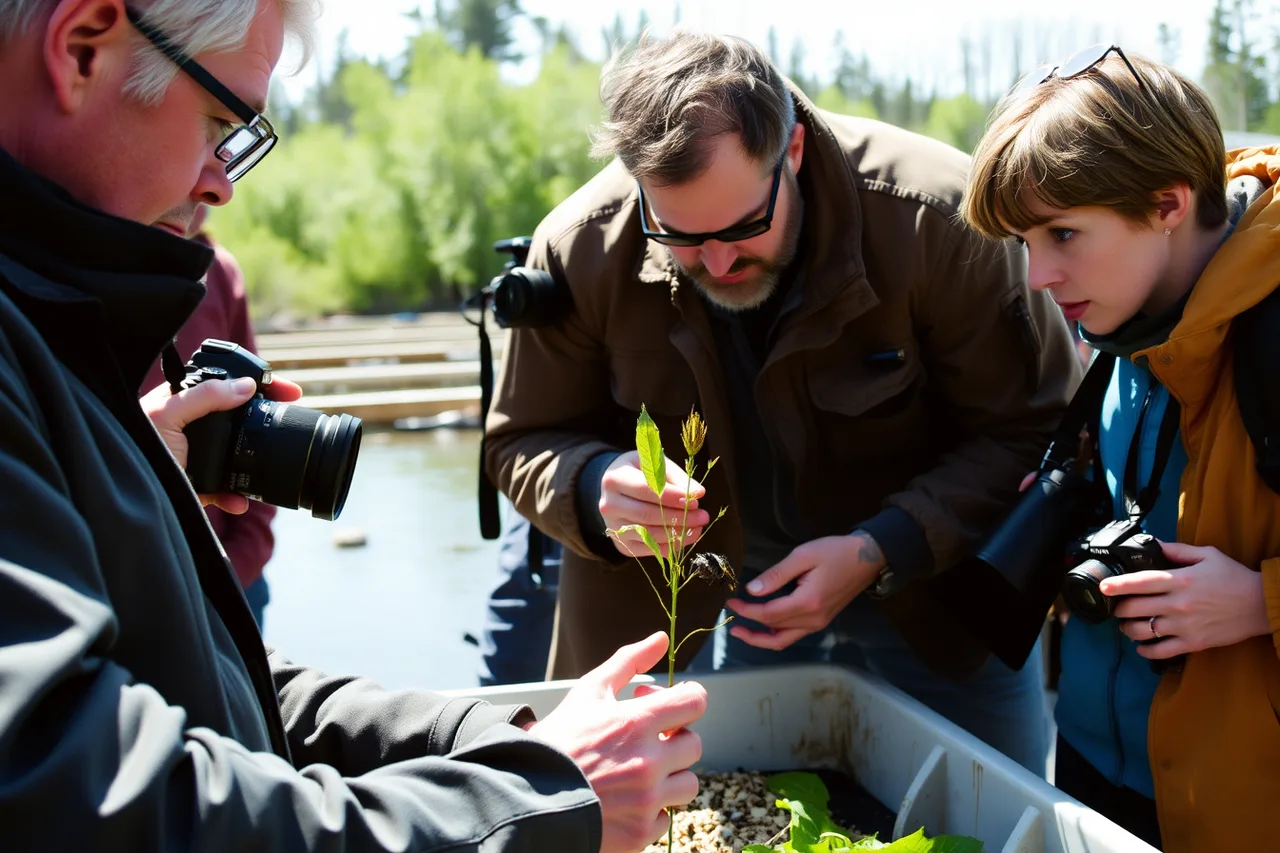
It also covered ethics: leave no trace, proper distance, not touching or moving animals, and avoiding habitat disturbance. On a group tour those ethics are also what stops one photographer ruining a site's willingness to host the next group.
Use botanical art to simplify a plant frame
A juried exhibition of botanical art at the United States Botanic Garden, Botanical Art Worldwide: America's Flora, showed 46 original contemporary works of native plants. They were selected from more than 200 entries.
The show was staged with the American Society of Botanical Artists. Artists in residence drew collection plants in front of visitors and discussed their approach.
Botanical illustration solves the same problem a photographer faces on a rushed stop: showing structure clearly without losing the character of the plant. Apply that idea by choosing a clean background and an unobstructed view of one plant feature; do not move or handle the plant to improve the composition.
The tour kit
Item / Why it earns its place
- One body, one zoom
- Changing lenses costs you the stop
- Phone as second camera
- Best tool for close subjects
- Lens cloth
- Condensation is guaranteed in glasshouses
- Spare battery
- No time to charge between stops
- Small notebook
- Labels now, captions later
Leave the tripod. Rules on tripods and commercial shooting are set garden by garden, not by the tour operator, and they usually live on the garden's own visit or photography page. Check that page before you book, because no group tour will wait while you set one up. The United States Botanic Garden permits photography for personal use, requires visitors to inquire at the information desk for tripod permits, and prohibits posed photography.
Working around the group
Before the stop, ask the guide where everyone will gather and whether independent walking is allowed. Stay ahead or behind only if the guide permits it, and step aside to review images.
A few habits keep you in the group rather than chasing it:
- During the briefing, stand at the outer edge of the group on the side you will leave from. You can listen, see the guide and slip away first when the free time starts.
- Shoot your planned picture first, in the first minutes of free time, before the light changes or other visitors fill the frame. Extra pictures come after.
- Never stand on the path itself to frame a shot. Step onto a hard edge, a bench line or a lawn margin the site allows, so the group and other visitors can pass.
- Set your exposure and focus mode while you walk between stops, so that at the stop you only frame and press.
- Review images later. Checking the screen at every bed is what turns two minutes into ten.
- Note the regroup point and the time, and start back a few minutes early. Arriving last is the quickest way to lose the guide's goodwill for the next stop.
A time plan for one stop
With perhaps forty minutes at a garden and ten of them spent on the briefing, split the rest before you arrive. Spend the first part on the one shot you came for. Use the middle for the second and third features on your list, if they sit on the group's route. Keep the last few minutes for walking back to the regroup point, not for one more frame. If the stop is shorter than planned, drop the extras, never the walk back. A photographer's field list for garden trips covers the rules that apply whether or not you are on a tour.